
mosquitto(MQTT)ubuntu搭建教程
Mosquitto是一款实现了 MQTT v3.1 协议的开源消息代理软件,包括了服务器端和客户端,可以跨平台部署,提供轻量级的,支持发布/订阅的的消息推送模式,使设备对设备之间的短消息通信简单易用。以下是在Ubuntu环境下,本地搭建MQTT服务器和客户端
安装mosquitto
引入mosquitto仓库并更新
sudo apt-add-repository ppa:mosquitto-dev/mosquitto-ppa |
安装mosquitto服务器和客户端
sudo apt-get install mosquitto #服务端 |
开启/停止mosquitto服务
sudo service mosquitto start |
查看mosquitto服务状态
sudo service mosquitto status |
成功启动如下图: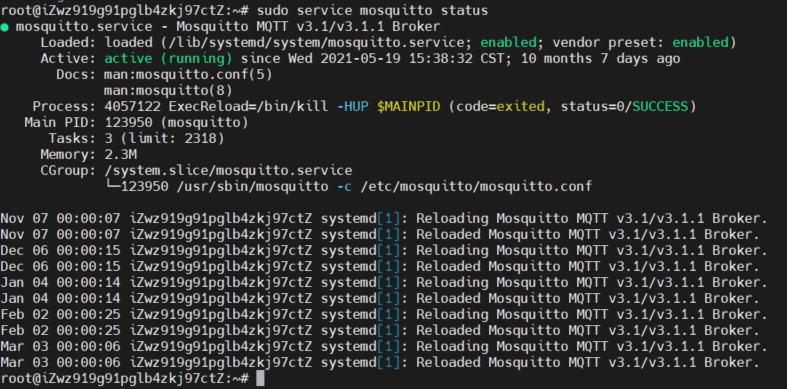
测试
ubuntu使用mosquitto-clients
打开一个终端,订阅主题
mosquitto_sub -h localhost -t "mqtt" -v |
【-h】指定要连接的MQTT服务器
【-t】订阅主题,此处为mqtt
【-v】打印更多的调试信息
打开另一个终端,发布主题
mosquitto_pub -h localhost -t "mqtt" -m "Hello MQTT" |
【-h】指定要连接的MQTT服务器
【-t】向指定主题推送消息
【-m】指定消息内容
windows下使用mqttBox
- 选择creat MQTT client
- 设置ip和端口 选择协议

- 创建订阅者和发布者开始传输
配置websockets
在/etc/mosquitto/conf.d/中新建mosquitto.conf文件并填入以下内容:
allow_anonymous true |
使用mosquitto -c mosquitto.conf指定配置文件运行,看看报错信息,正常的话应该是这样的:
同上使用mqttbox测试一下mqtts、wss是否正常
参考链接
https://blog.csdn.net/weixin_42411153/article/details/95310684
本博客所有文章除特别声明外,均采用 CC BY-NC-SA 4.0 许可协议。转载请注明来自 LP瞎逼逼!
 wechat
 alipay
评论